Prerequisite: It’s very important that you’ve completed the onboarding process and added enough base knowledge before moving on to this part of the tutorial.
If not, the final user may have a poor experience when interacting with the agent. At Semantiks, we prioritize the end-user experience above all else.
Connecting your agent to the world
Having a super smart, capable, and fast agent sounds amazing—but if it’s not connected to the world, it doesn’t really matter.In this step, you’ll learn how to connect your agent to a live environment by:
- Embedding it into a web page using a simple copy-paste code snippet
- Integrating it with Meta WhatsApp as a messaging channel
- Serve your Agent using the “External Chat” URL
You’ll find a step-by-step tutorial for each channel in the Channels section of the documentation.
Whether you’re setting up a web widget or integrating with WhatsApp, Instagra,SMS, etc everything you need is right there.
External URL
The external URL is the fastest way to share your agent.This shareable link lets you provide a personalized chat experience where the agent is ready to answer questions and solve user problems.
Most of the agent’s tools and capabilities are available through this interface, making it a powerful option for quick deployment. Find the channels section in the menu
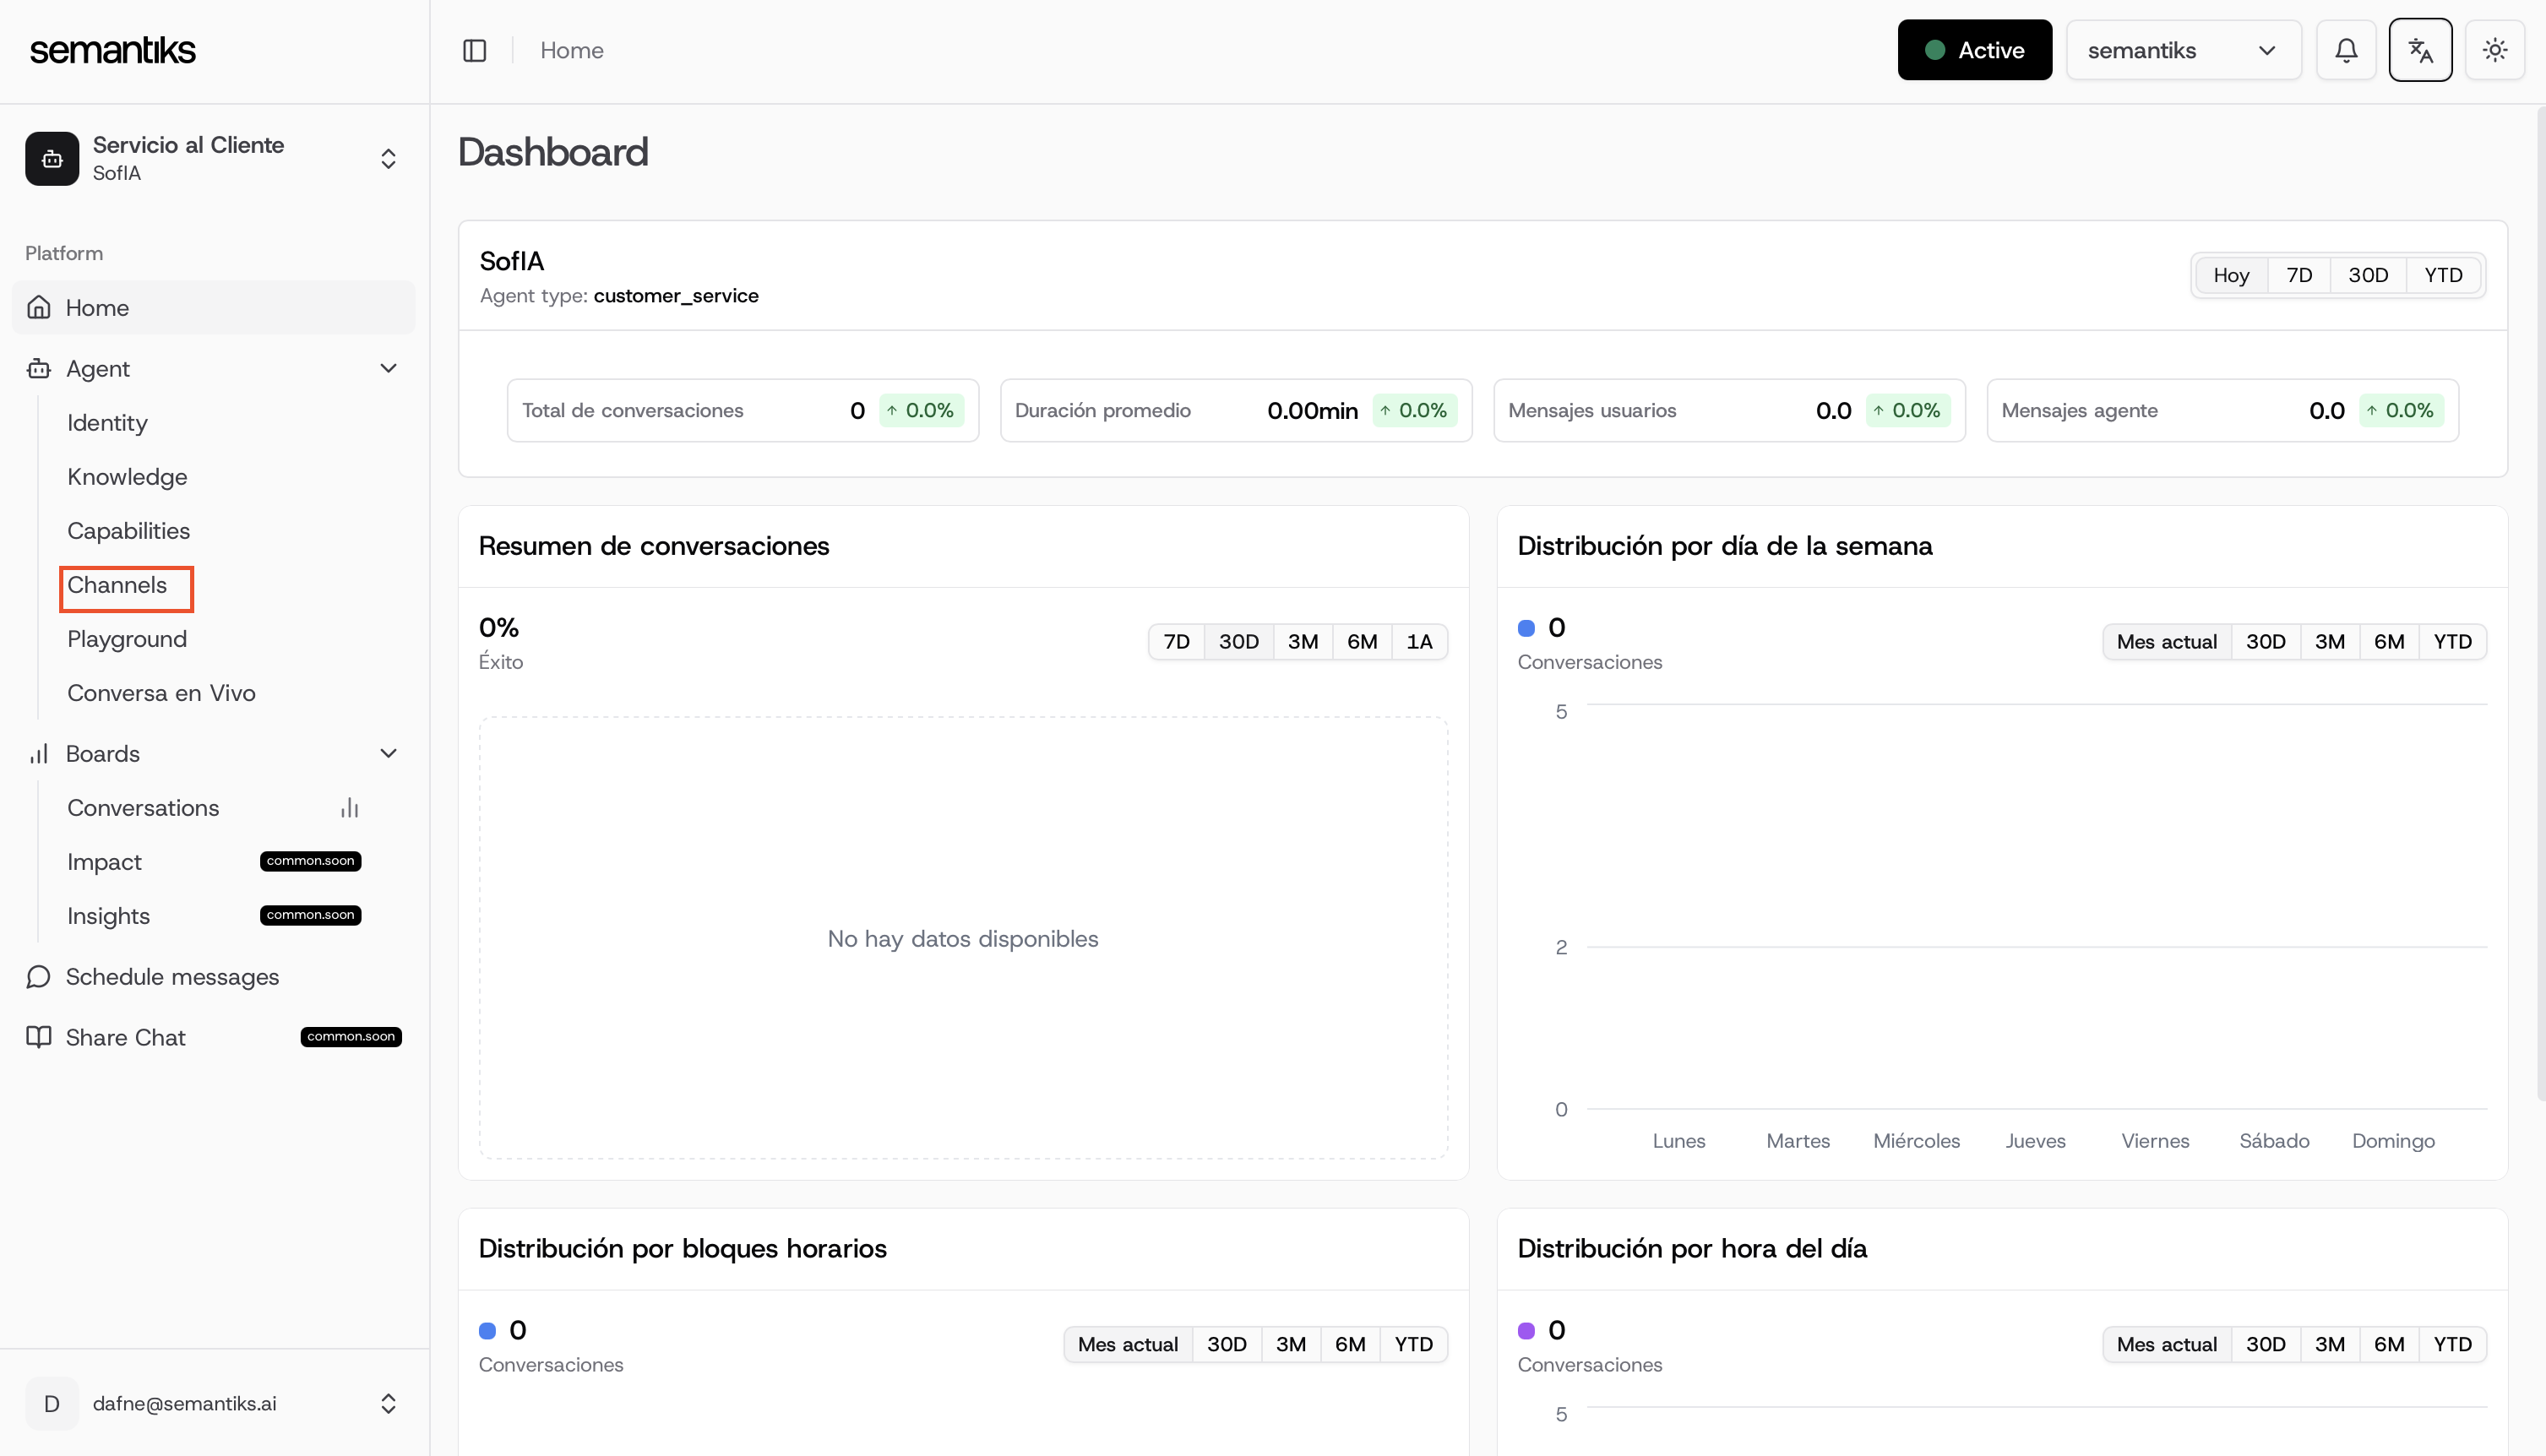
You can now send this link to anyone, and they’ll be able to interact with your agent instantly.
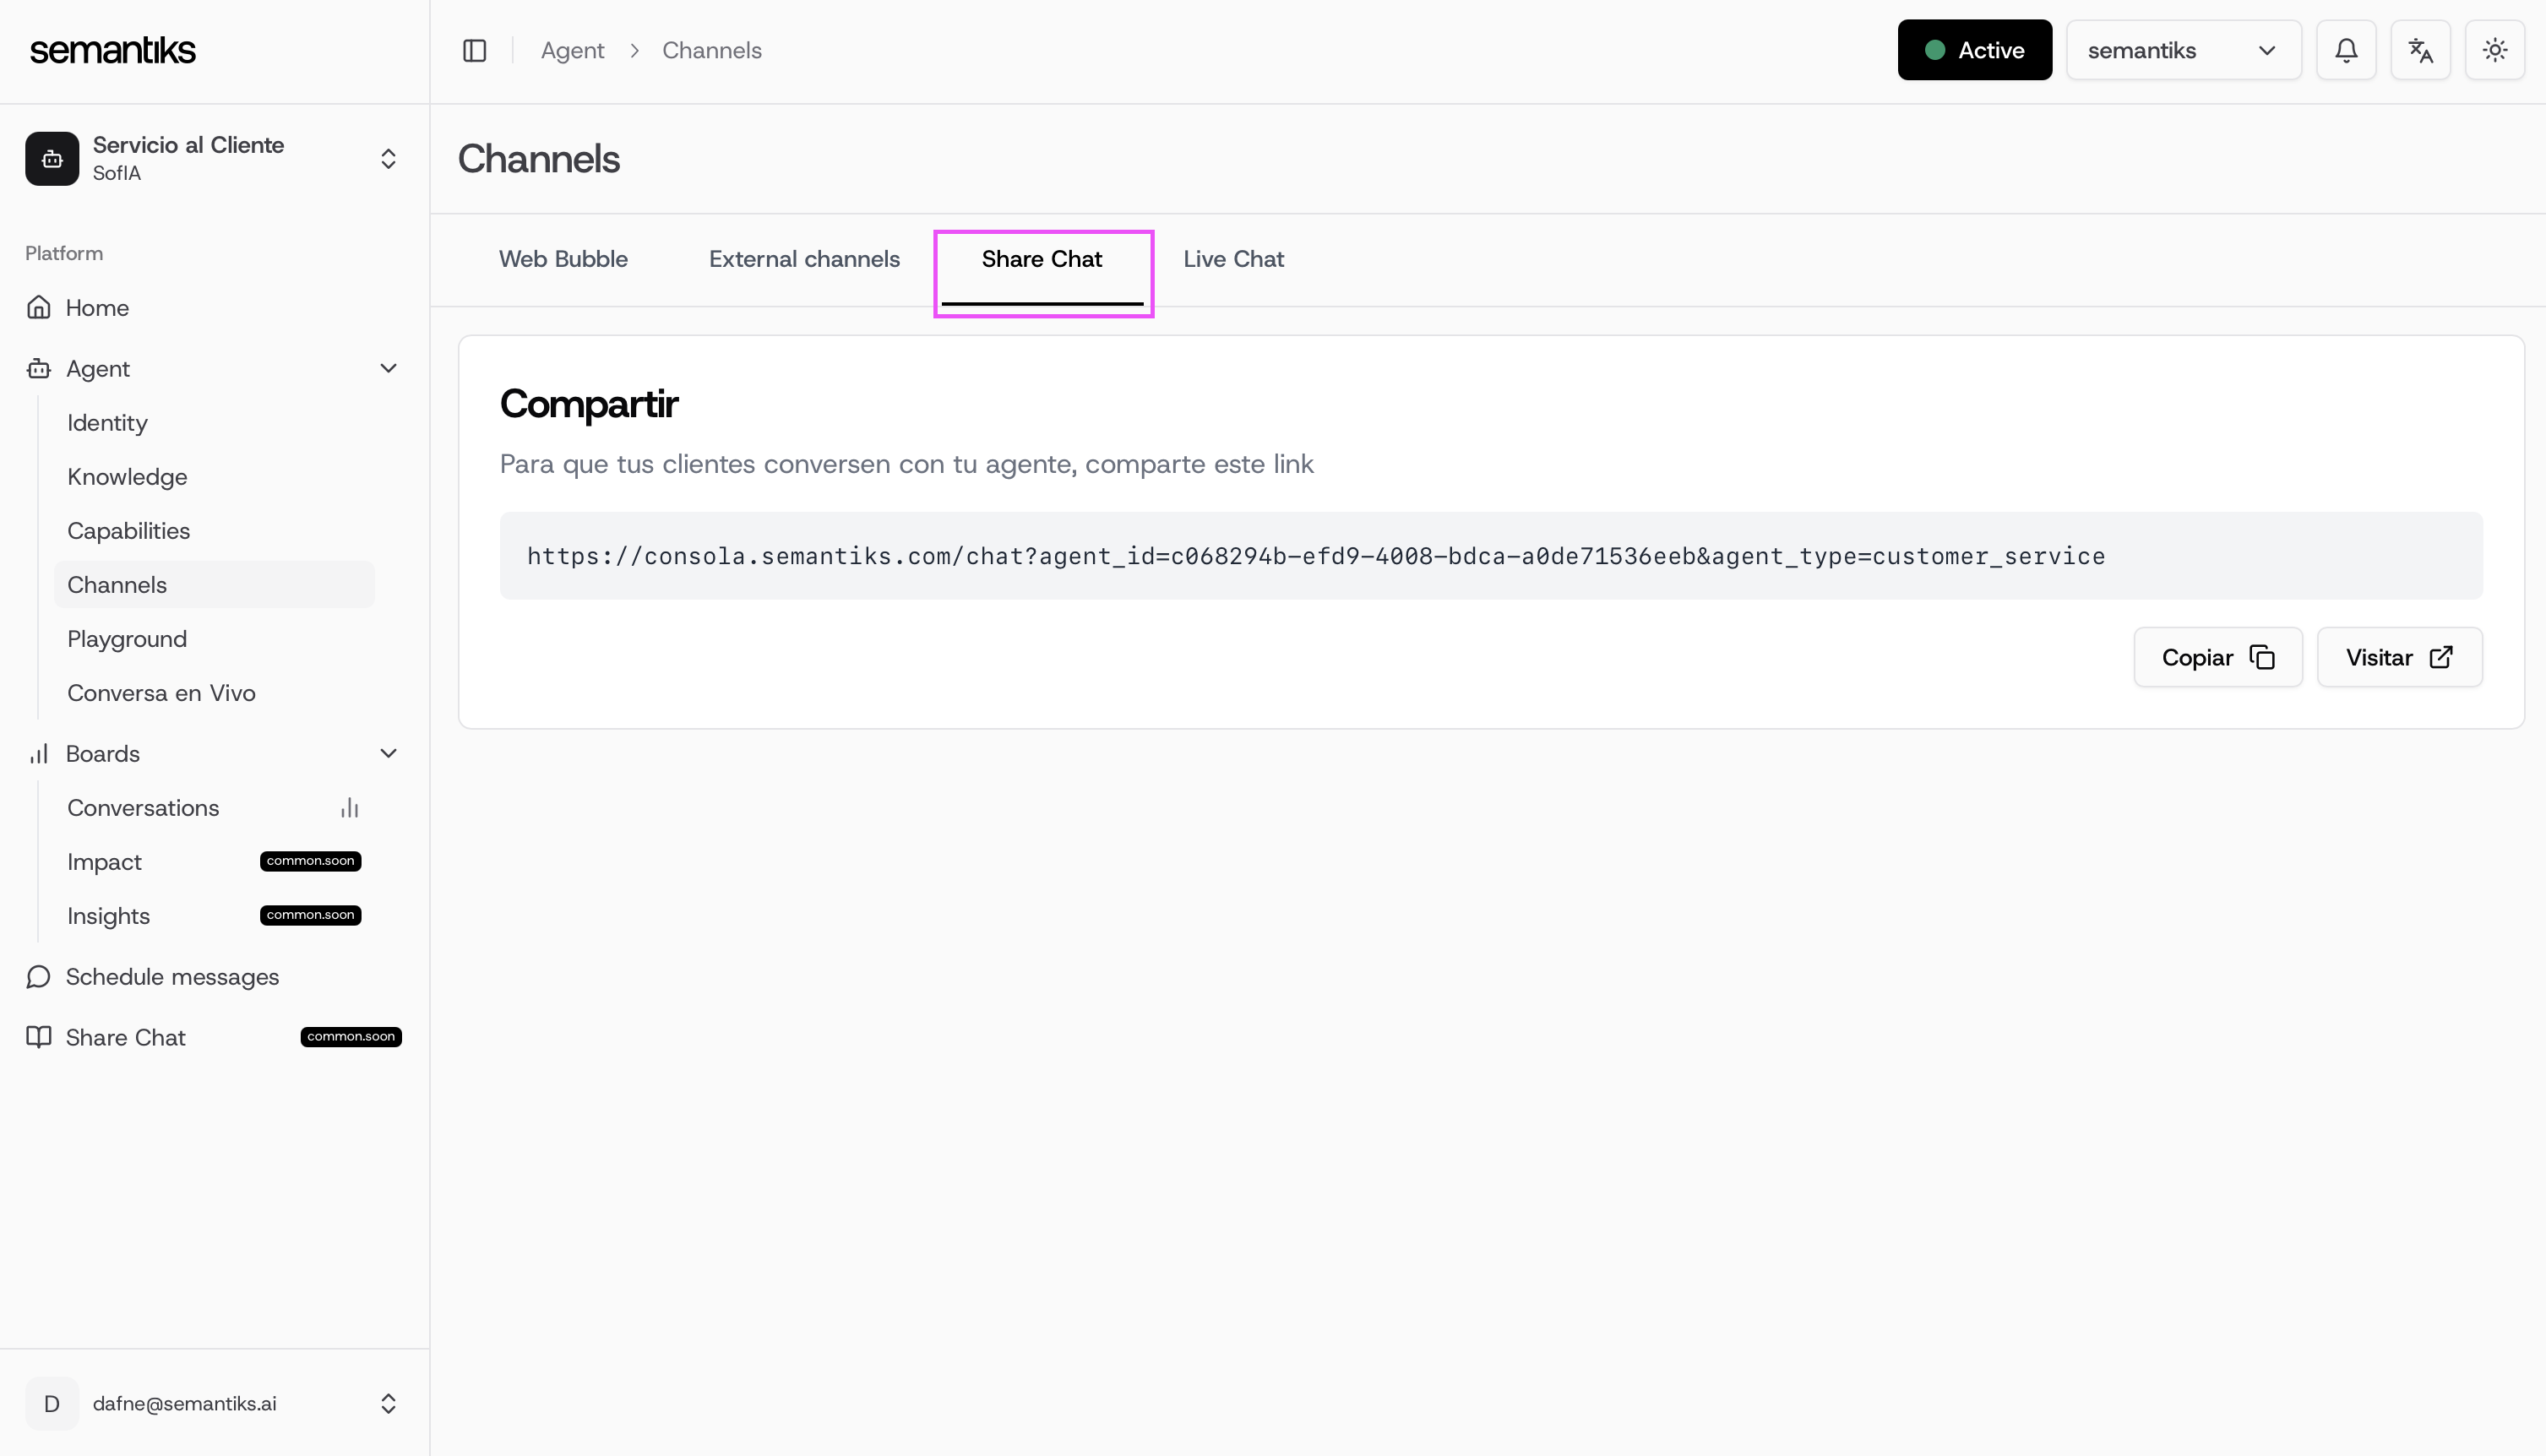
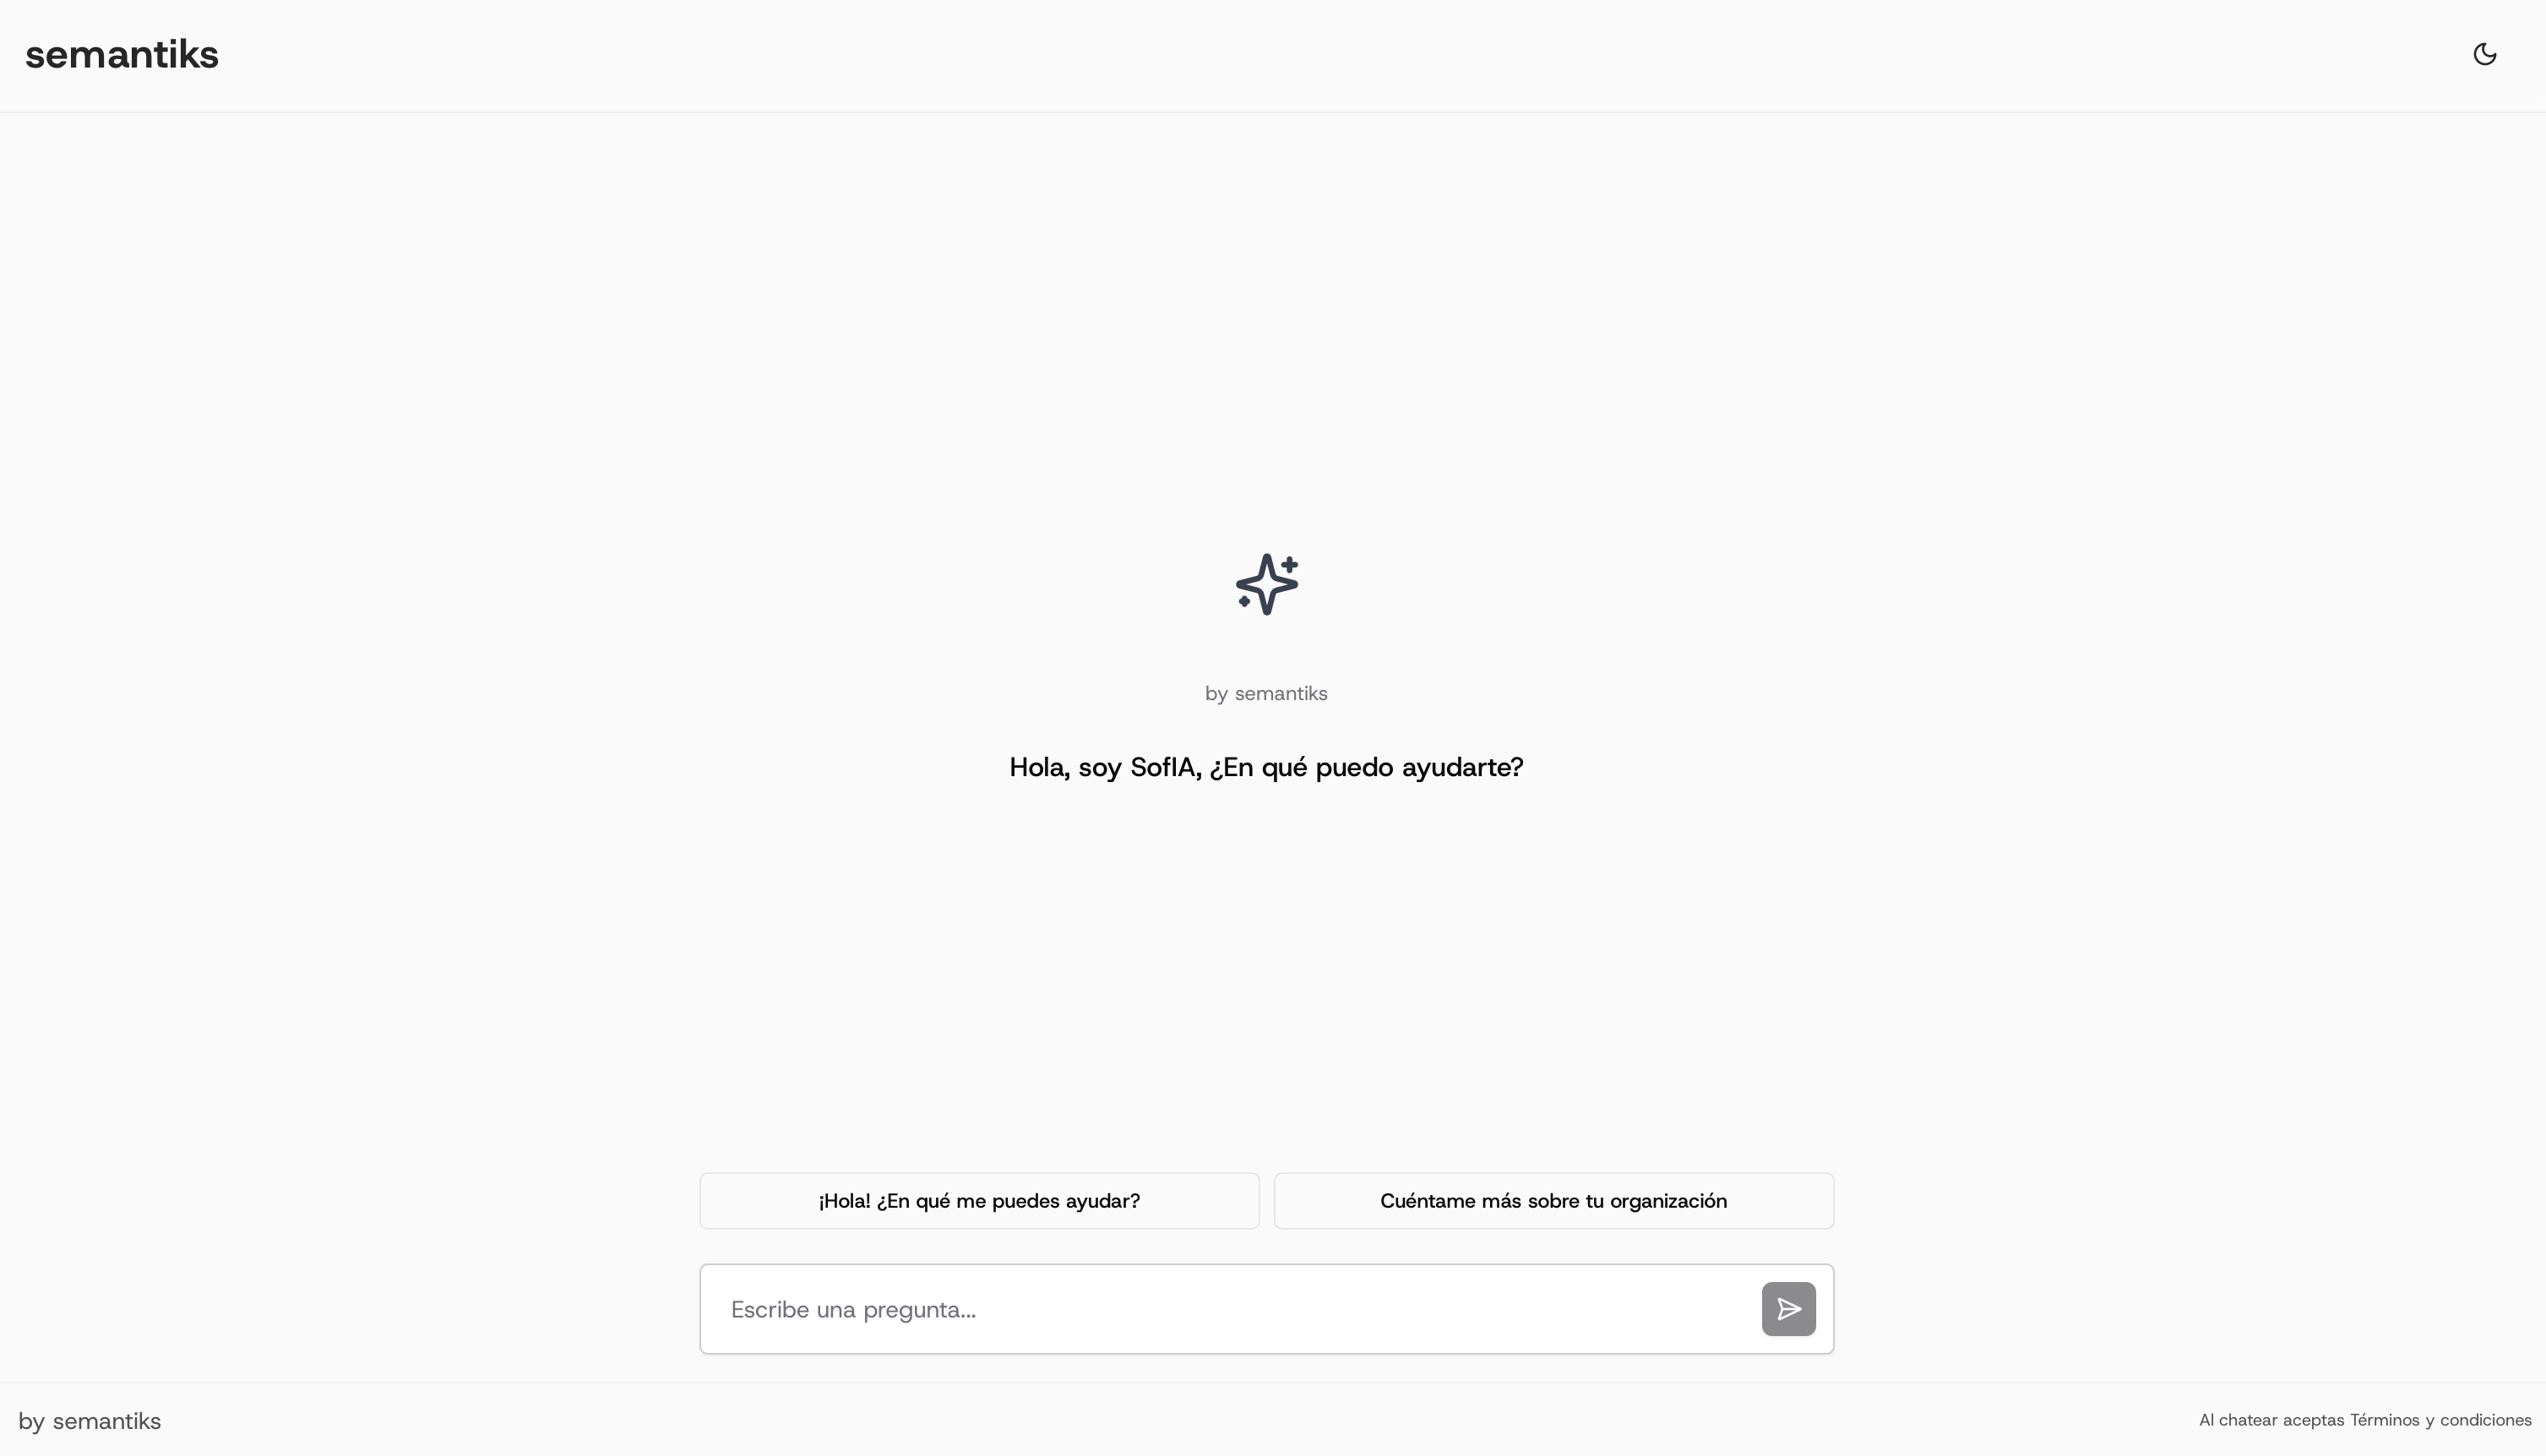
If you already have an image for your agent the image is going to be render in the External Chat
Web Bubble
The external chat is great but what if you want to integrate your agent directly into your own website with a message bubble?That’s where the Web Bubble Widget comes in. This widget lets you embed the agent as a chat bubble anywhere on your site, giving users seamless access to support or interaction without leaving your page. To get started, select the Web Bubble channel.
You’ll first need to generate an API key, and then follow a simple two-step configuration:
- Copy the first code snippet and paste it into the
<head>section of your website. - Copy the second code snippet and paste it into the
<body>section where you want the chat bubble to appear.
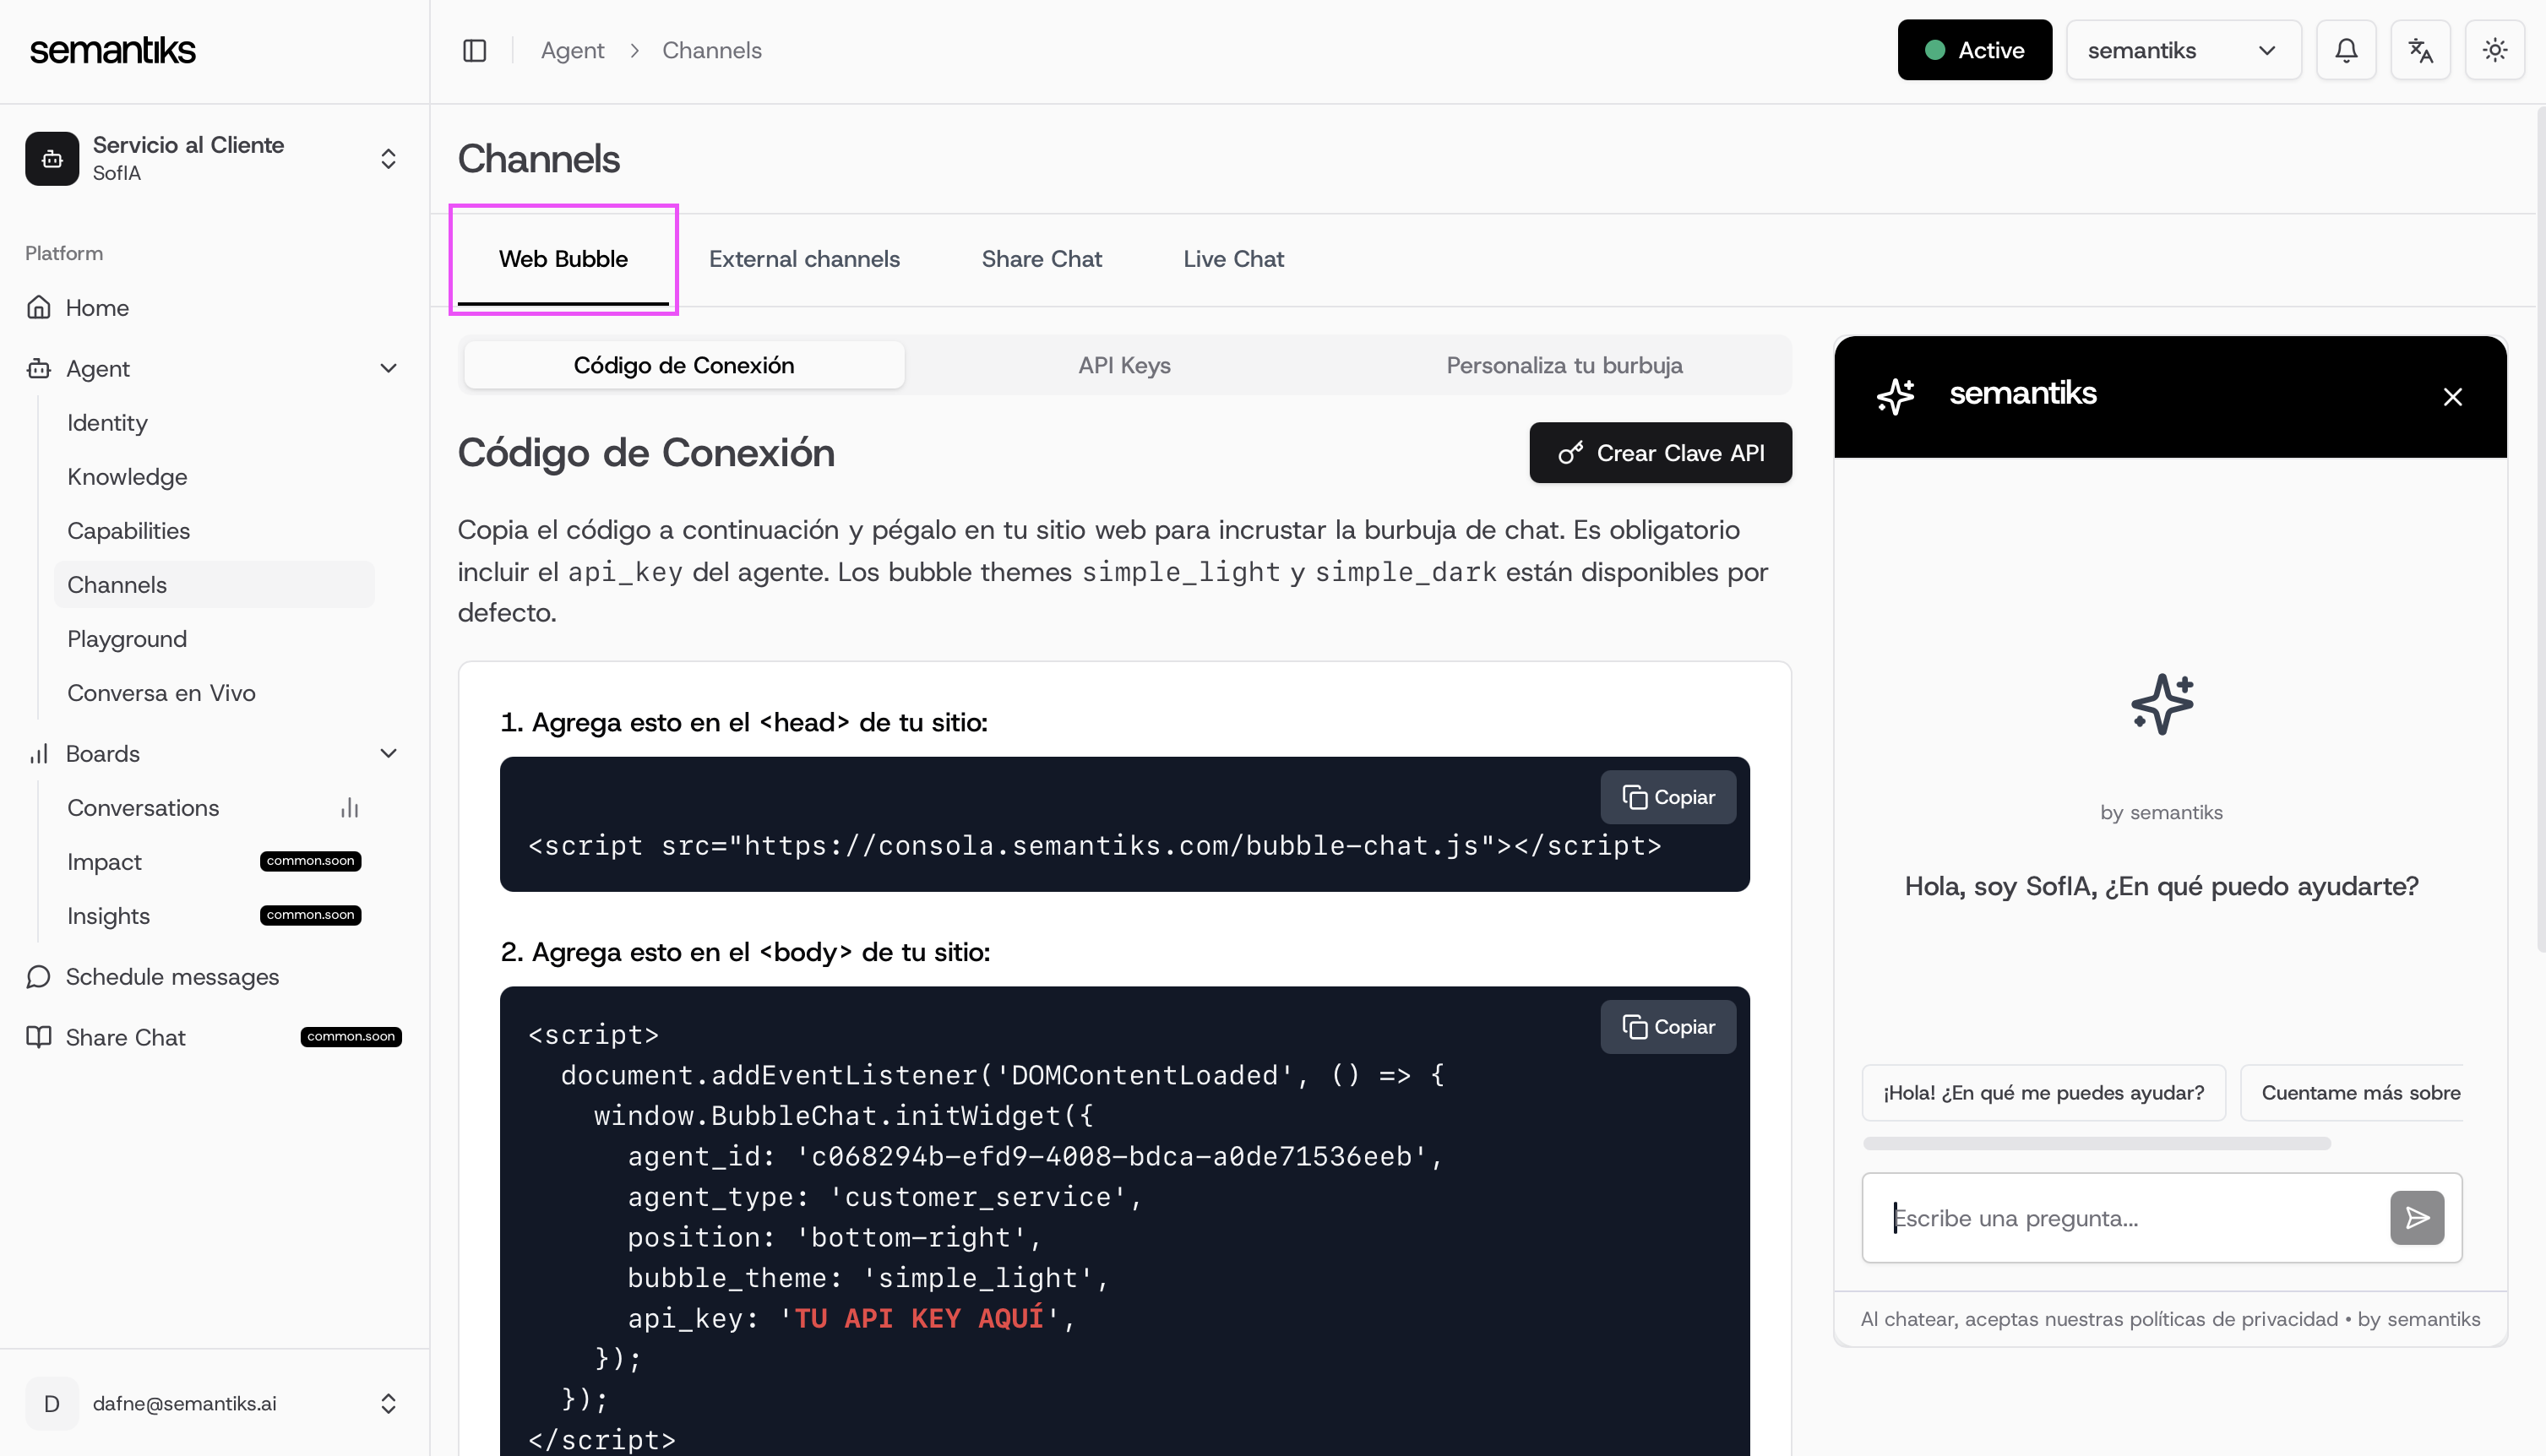
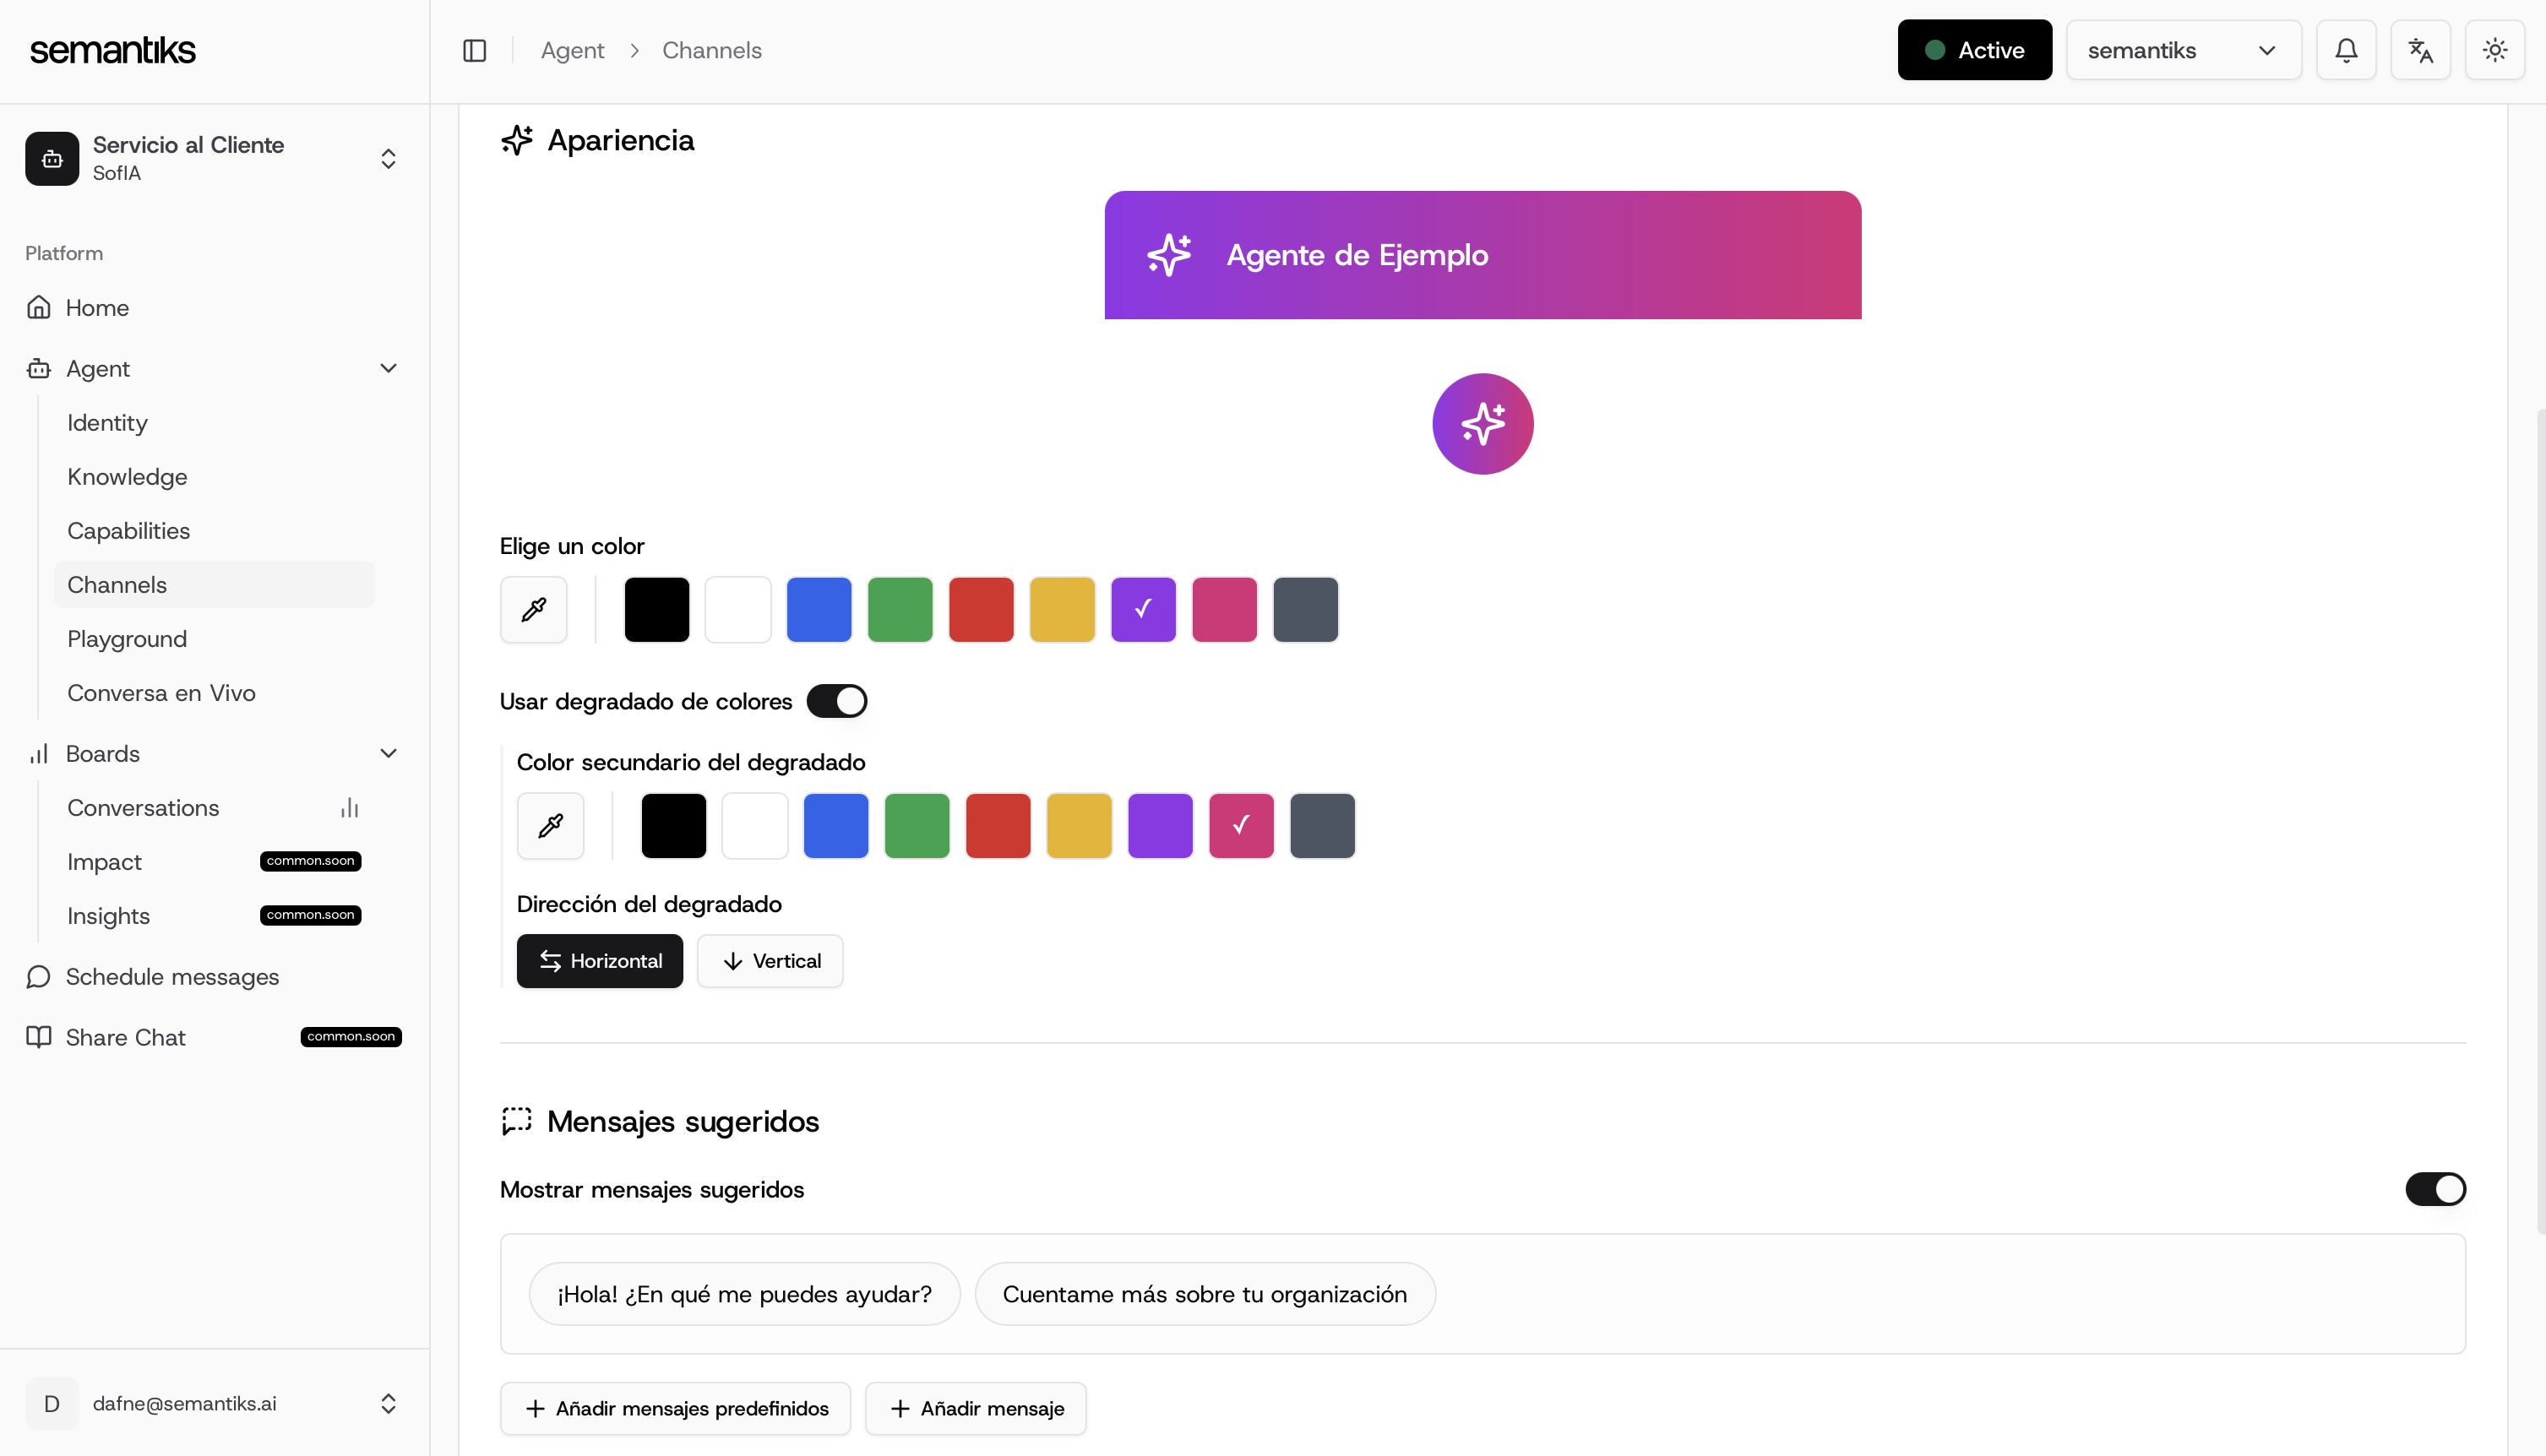
You can customize your chat bubble to match your brand!
Head over to the Personalize Your Bubble section and explore the various customization options we offer.From colors and icons to welcome messages. You can tailor the experience to fit your style.
Serving Your Agent on WhatsApp
Now it’s time to connect your agent to a real communication channel WhatsApp.This is handled through the External Chats section within the Channels tab. From there, you can set up and manage your agent’s integration with WhatsApp to start engaging with users directly.