Don’t forget to click Save changes after editing any field in the Identity section. Otherwise, your updates won’t be saved.
General Information
In the General tab, you can upload a profile image, assign a name to your agent, and define how it greets and says goodbye to users.The profile image should be square (1:1 ratio) and no larger than 2MB.
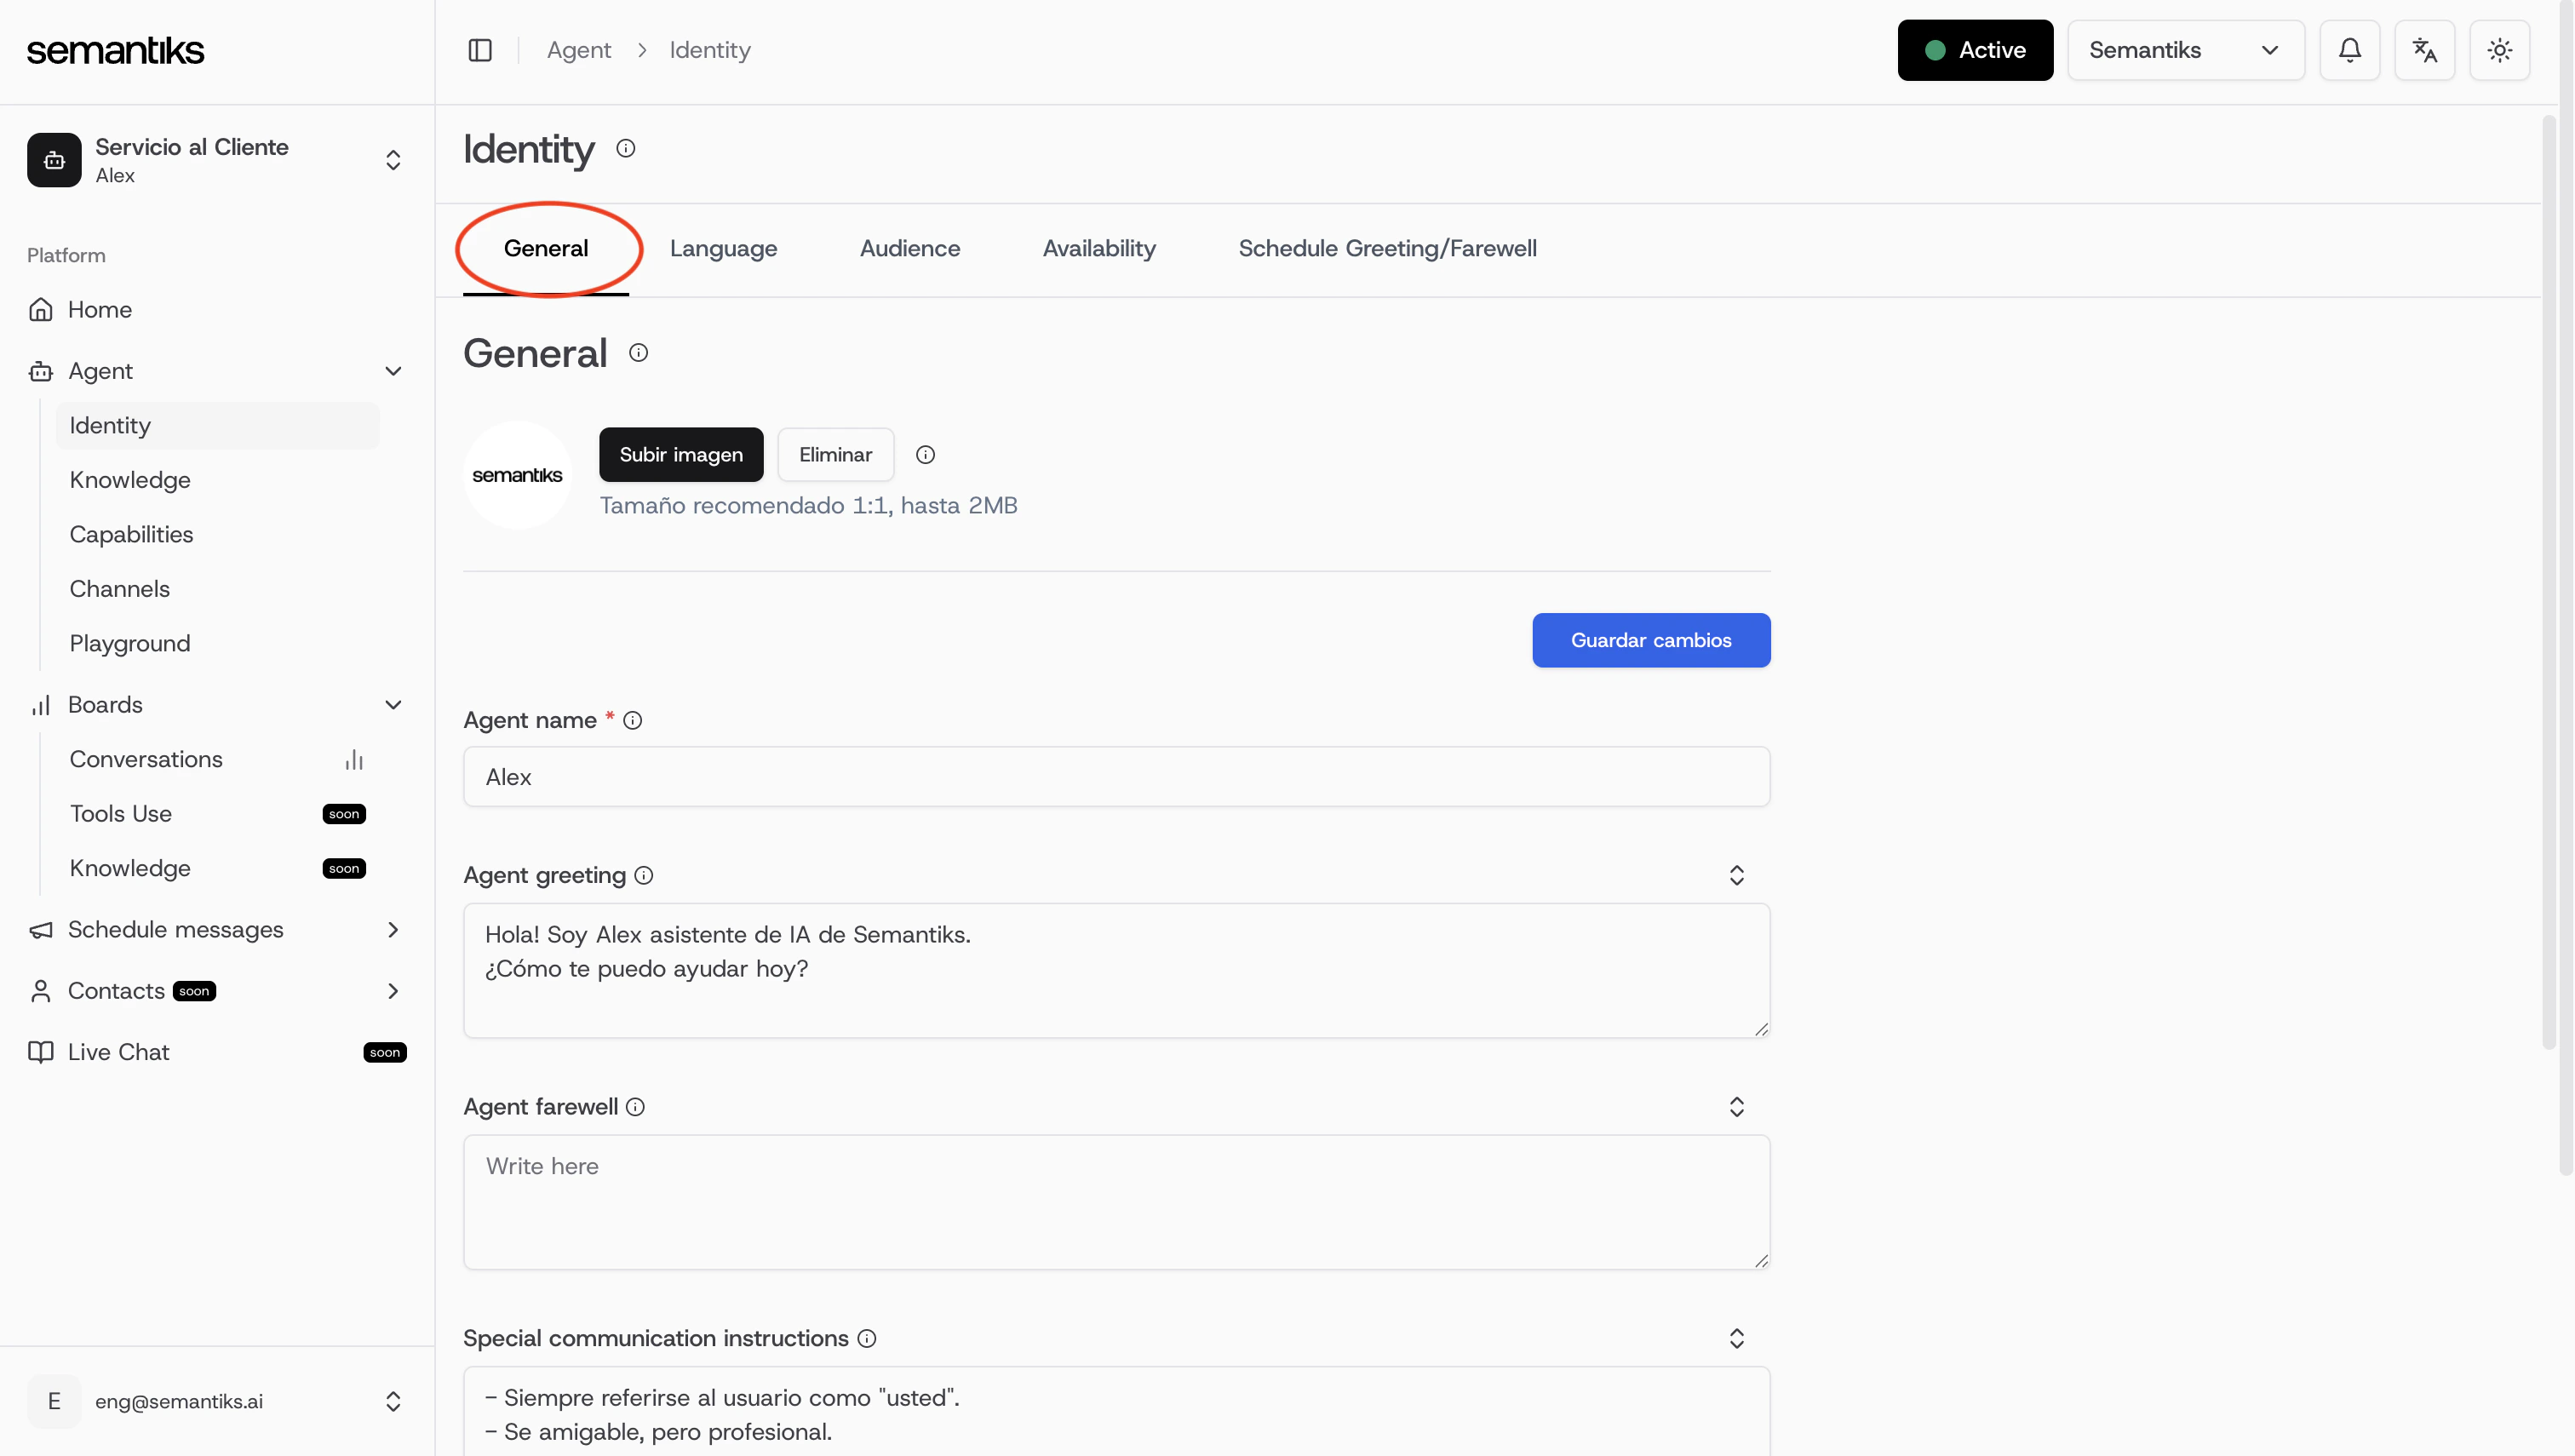
- Agent name: This is the display name of your agent. Choose something friendly and aligned with your brand.
- Agent greeting: Define the message your agent uses to welcome users. This is the first thing they’ll read.
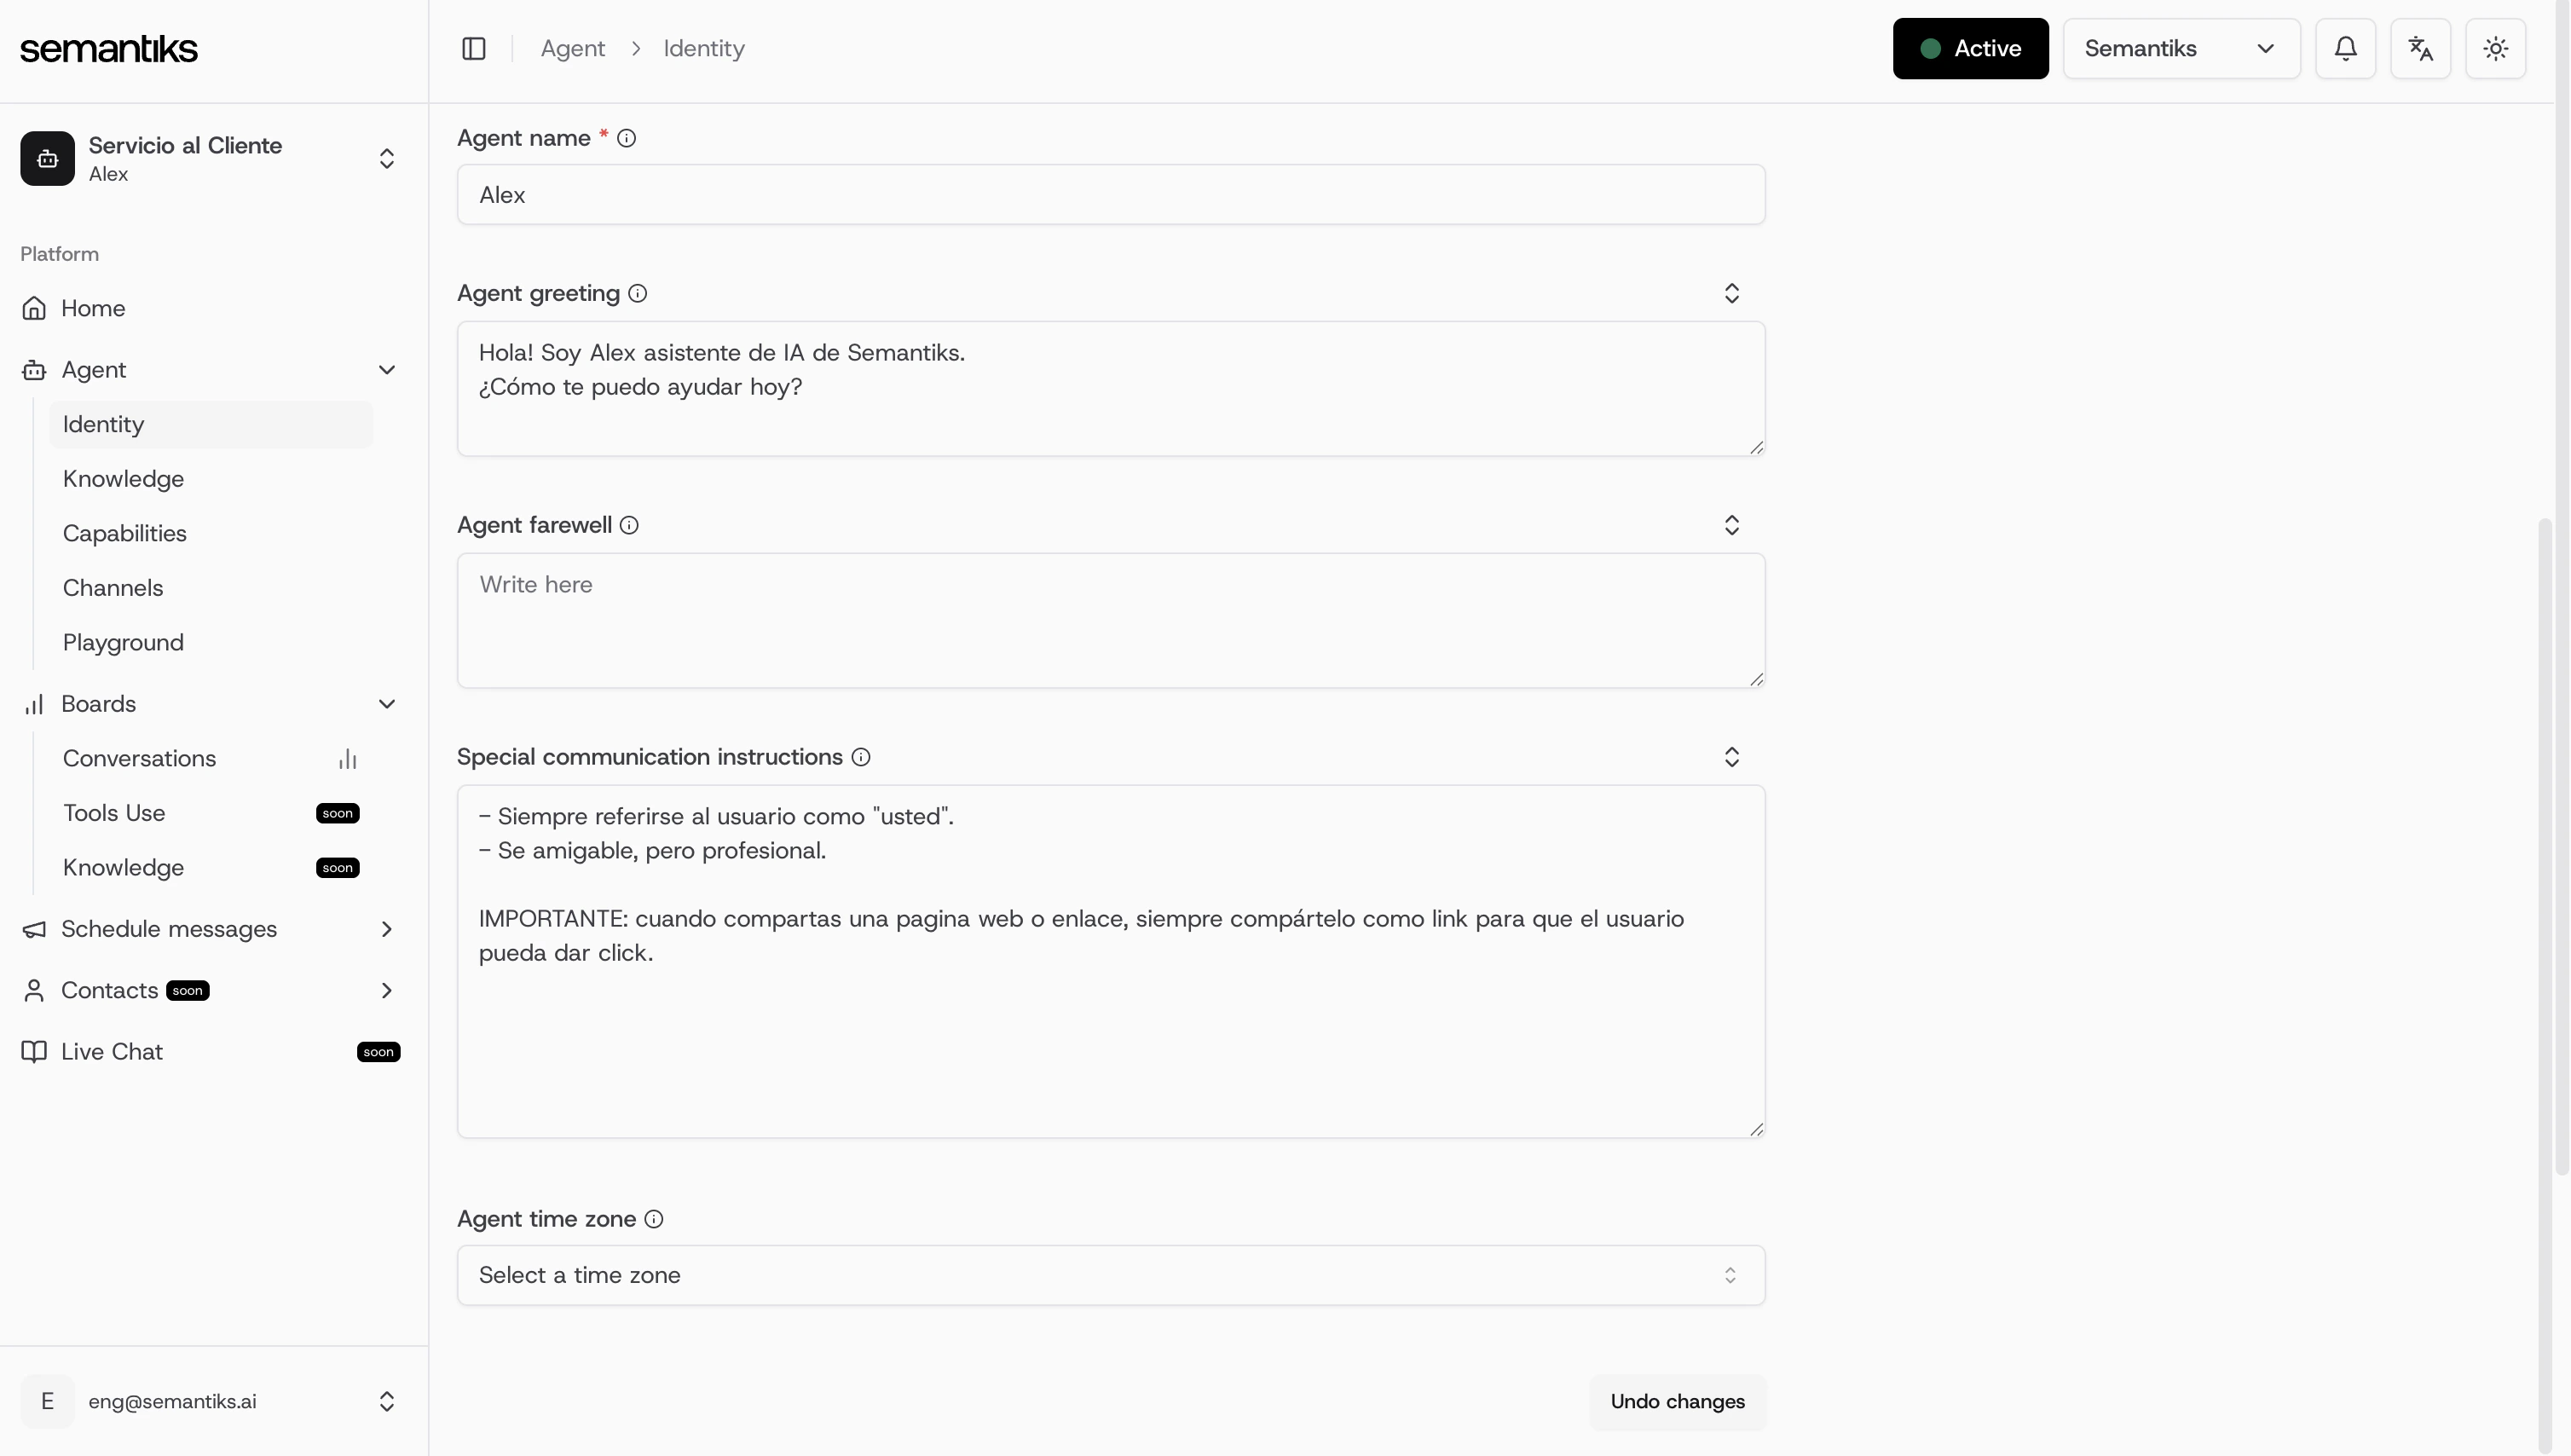
- Agent farewell: Enter the closing message your agent will send at the end of the conversation.
- Special communication instructions: This is where you guide your agent on how to interact. Include tone, formal/informal treatment, and any specific behavior.
- Agent time zone: Select the correct time zone for your agent. This is essential for time-based features like scheduled greetings or availability settings.
Communication Instructions
At the bottom of the General tab you’ll find the Communication Instructions section. These are short, focused directives that steer how your agent communicates with users—for example, enforcing a concise tone, requiring formal language, or always greeting by name.- You can have up to 20 active communication instructions at a time.
- Each instruction can be up to 350 characters long.
- Every instruction requires a Title (up to 80 characters) and an Instruction body.
- Instructions can be individually enabled or paused with a toggle, so you can keep drafts around without them affecting the agent.
When you navigate here from a Knowledge Review suggestion, the referenced instruction rows will be highlighted with a colored ring and the page will automatically scroll to the first one.
Creating an instruction
Click Add instruction
In the Communication Instructions section, click the + Add instruction button.
Fill in the Title
Give the instruction a short, descriptive title (e.g. Concise tone or Always greet by name). The title helps you identify the instruction at a glance in the table.
Write the Instruction body
Describe the behavior you want in clear, direct language. The agent will follow this instruction during every conversation where it is enabled.