Key Features
- Safe Testing Environment: Any changes you make to your Agent’s identity, knowledge, or capabilities can be tested here without impacting connected channels (WhatsApp, web chat, etc.).
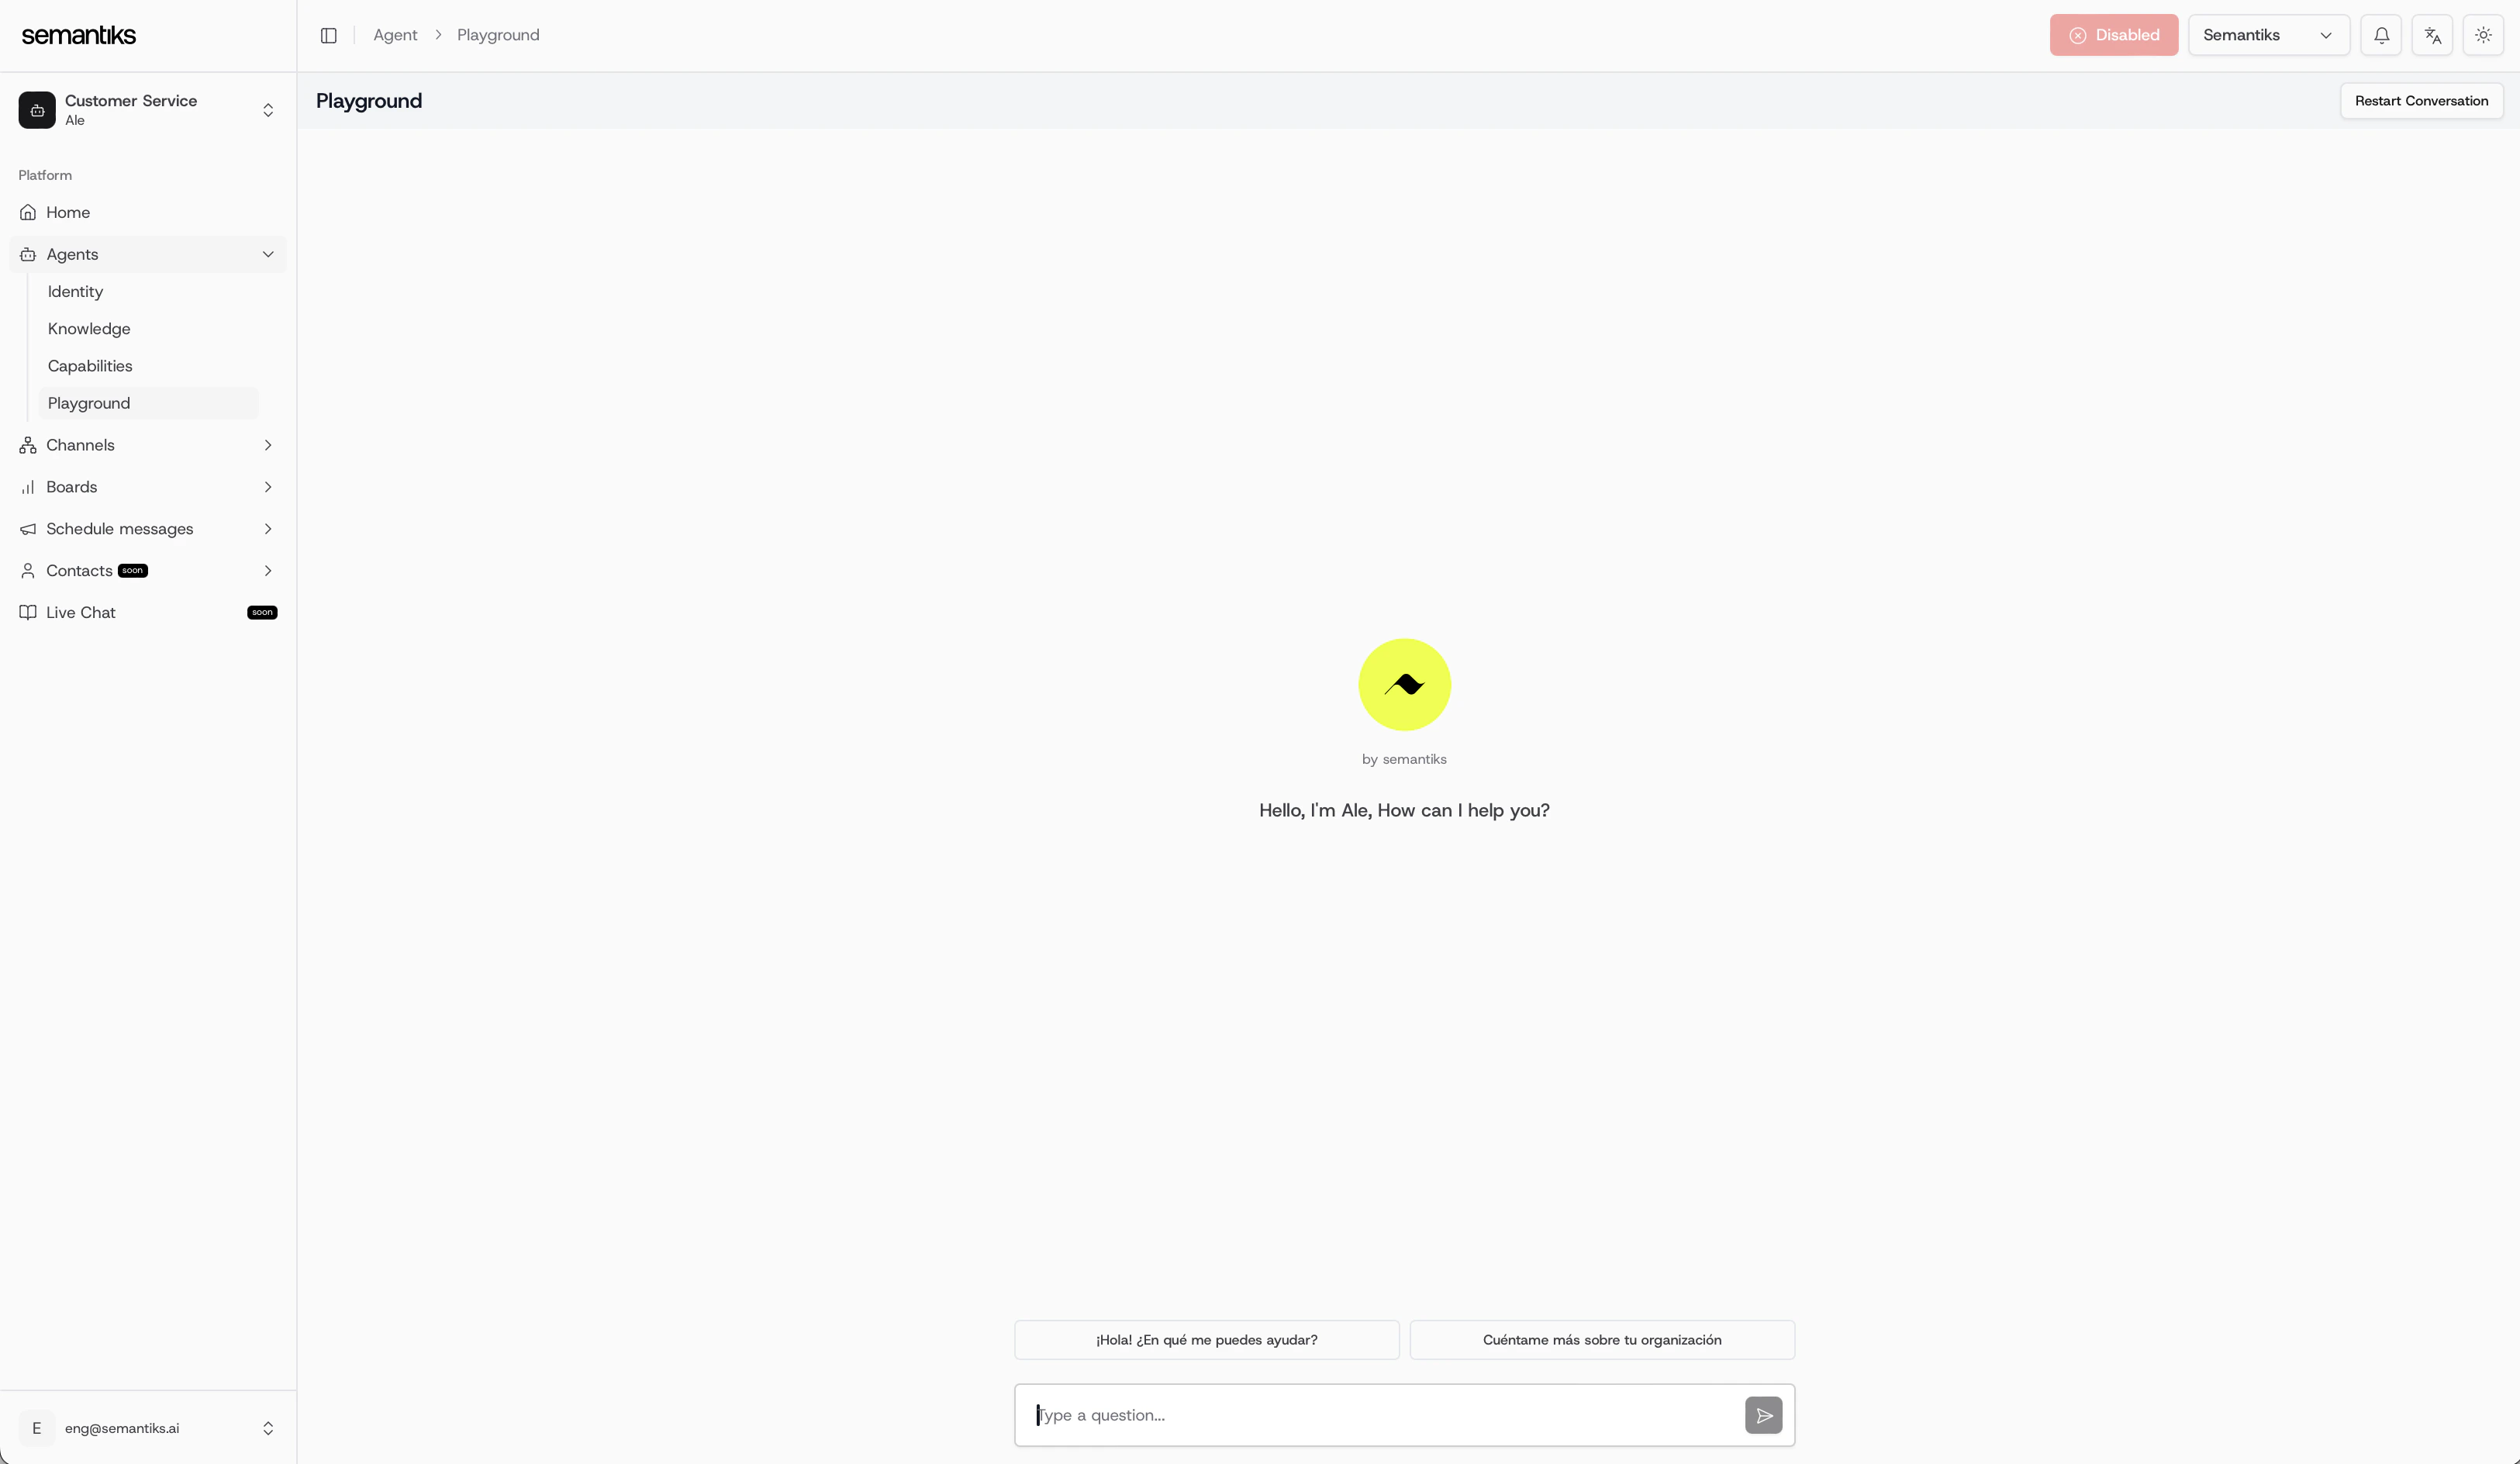
- Conversation Simulator: Interact with your Agent in real time to evaluate how it responds to sample questions or guided prompts.
- Predefined Prompts: Start quickly with suggested inputs such as:
- ¡Hola! ¿En qué me puedes ayudar?
- Cuéntame más sobre tu organización
- Restart Conversations: Reset the chat at any time to test a new flow from the beginning.
- Multilingual Support: Test your Agent’s responses across different languages (if enabled).
- Informational Banner: When you open a new Playground session, a blue banner reminds you that you are testing on the Playground channel and recommends restarting the conversation after making changes to your agent. The banner dismisses automatically when you send your first message, or you can close it manually by clicking the ✕ button.
- File Attachments: Send images, documents (PDF), audio, and video files directly in the Playground to test how your Agent handles media. This feature depends on your agent’s web channel file preferences configuration.
- External User Override: Simulate conversations as a specific end user by configuring a custom User ID, Profile Name, and metadata before starting a conversation. This is useful for testing personalization, memories, and user-specific behaviors.
External User Configuration
The Playground lets you override the default user identity that is sent to your agent’s backend. This is especially helpful when you want to:- Test how your agent behaves with a specific returning user (by providing their User ID).
- Verify personalization features like greeting the user by name (by setting a Profile Name).
- Simulate conversations with custom metadata (e.g.,
plan: premium,language: fr) to test metadata-dependent logic in workflows or tools.
How to configure the external user
Open the External User modal
In the Playground toolbar, click the External User button (the user-with-gear icon). A modal dialog will open.
Set the User ID (optional)
Enter a custom User ID. If left empty, the Playground generates a random ID in the format
playground-<uuid>.Set the Profile Name (optional)
Enter a custom Profile Name. If left empty, the default
Playground <timestamp> label is used.Add Metadata (optional)
Click Add property to add key-value pairs. Each pair represents a metadata attribute sent alongside the conversation.
- Keys must be unique and non-empty.
- You can remove any pair by clicking the trash icon next to it.
- If no metadata is provided, the default metadata (
source: playground,session_id: <uuid>) is used.
Changing the external user configuration does not restart the current conversation automatically. For the new identity to take effect, start a new thread by clicking the New thread button.
Sending File Attachments
If your agent’s web channel has one or more file types enabled in its file preferences, the Playground composer will display a + button to the left of the text input.How to attach files
- Click the + button in the composer area.
- A menu appears listing the available file types: Images, Media (PDF), Audio, and Video. Only the types that are enabled in your agent’s web channel configuration will be clickable.
- Select a file type and choose one or more files from your device.
- A preview strip appears above the composer showing thumbnails for images or file name badges for other types.
- To remove a file before sending, hover over its preview and click the ✕ button.
- Type your message (optional) and press Send. The attached files are sent along with your message.
You can attach up to 3 files per message, with a maximum size of 10 MB per file.
Best Practices
- Test after every change: Whenever you update your Agent’s identity, knowledge, or capabilities, open the Playground and run a quick test to verify the changes work as expected.
- Use the restart button: After making adjustments, restart the conversation to clear context and start fresh.
- Simulate real scenarios: Try asking the kinds of questions your real users would ask to uncover gaps in your Agent’s knowledge.
- Test with different user identities: Use the External User modal to simulate conversations as different users and verify personalization, memories, and metadata-based behavior.